Upgrading the UNIFYBroker Service
Overview
For an upgrade from a v3.0 installation, please see Upgrading from Identity Broker v3.0 below for additional details. Upgrades post-v4.0 are as simple as running the UNIFYBroker.msi installer package.
Upgrading the UNIFYBroker Service
To begin installation, first ensure that all UNIFYBroker operations have finished and the service has been stopped.

Web.config) are not preserved.
Locate and run the UNIFYBroker.msi installation package from Windows Explorer.
The title screen of the installation wizard will be shown.
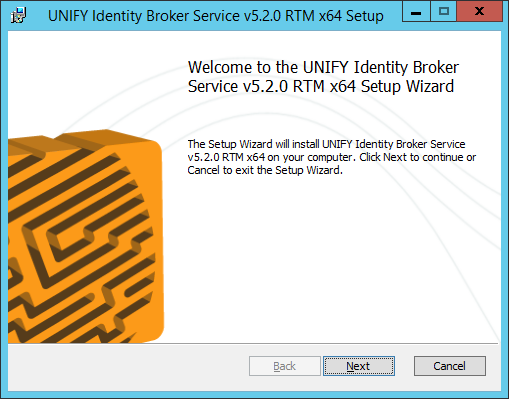
Click Next to continue.
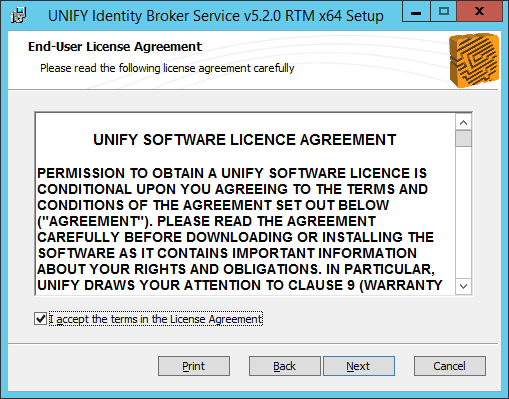
Read and accept the UNIFY Software License Agreement.
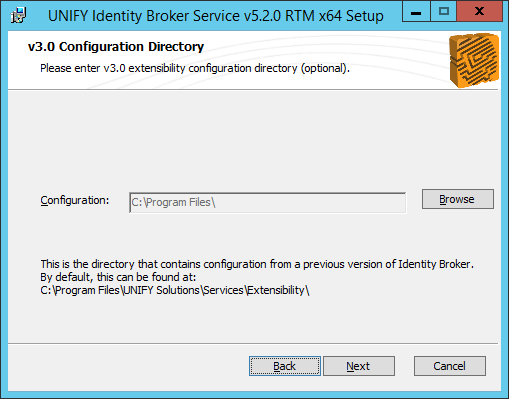
The v3.0 configuration directory step can be skipped for upgrades from an UNIFYBroker v4.0 installation and onwards. Please see Upgrading from Identity Broker v3.0 below for additional details for a v3.0 upgrade.
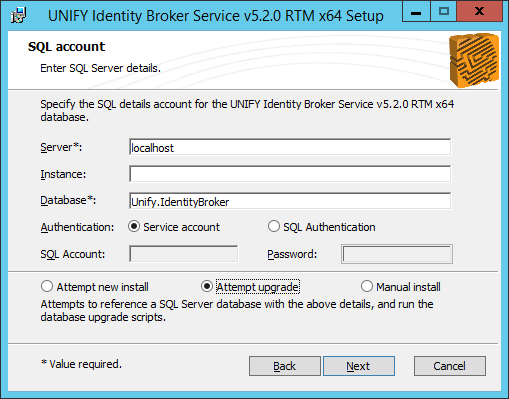
Configure database settings. The Attempt Upgrade option should be selected. If you wish to create manually upgrade the database, select the Manual Install option.
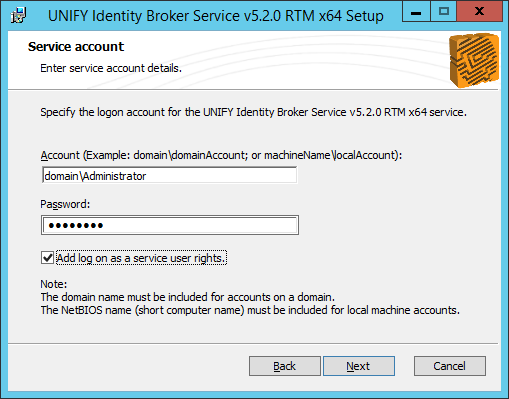
Enter the credentials for the Windows account that the Service will run as.
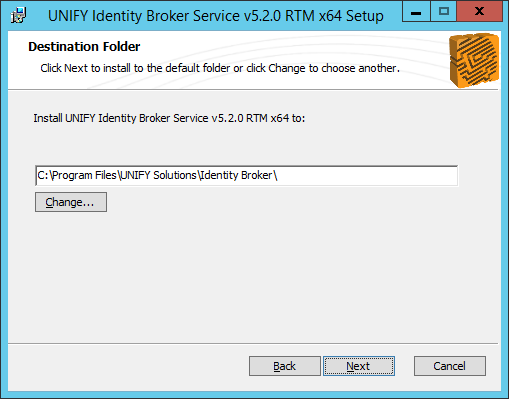
Select an installation directory for the UNIFYBroker Service. The default installation will be C:\Program Files\UNIFY Solutions\Identity Broker
Select an installation directory.
Confirm the values specified for this installation.
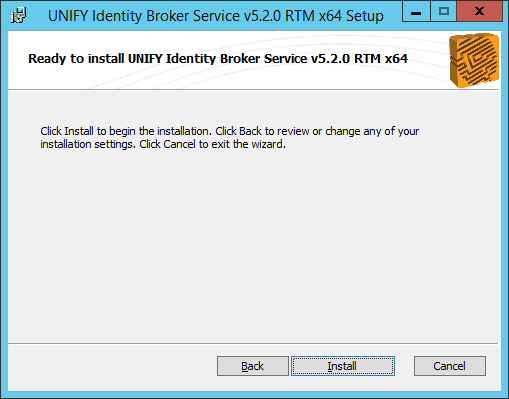
Confirm to begin the installation.
A progress bar will appear showing the progress of the installation.

Wait for the installation to complete.
The installation has completed successfully.
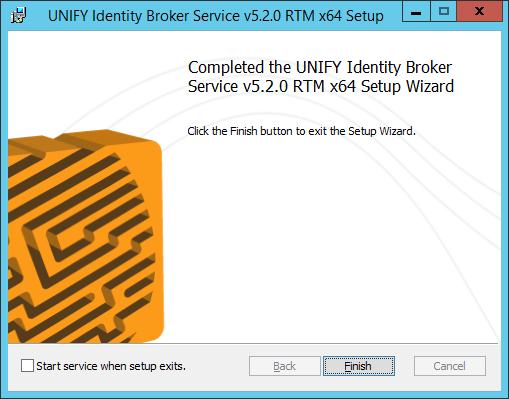
Click Finish to close the installation window.
The UNIFYBroker service has now been upgraded.
Custom Configuration Modifications
Not all configuration files are preserved during an upgrade. Custom changes to these files will be lost and will need to be re-applied after the update is complete.
The following are the only configuration files which do persist. The above applies to any file not on this list.
Services\*.exe.configServices\Extensibility\*.extensibility.config.xml
Starting the Service
To start the service, first open the Services window from Administrative Tools. Alternatively, run services.msc from command prompt.
Open the Services page, and select Yes if prompted to continue.
Find the UNIFYBroker service, and start it.
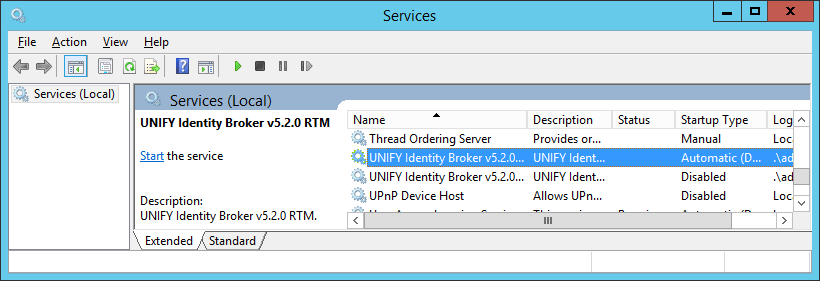
Start the UNIFYBroker service.
Verifying Installation
To verify the installation, please see the Verifying Installation section of Installing the Identity Broker Service.
Upgrading from Identity Broker v3.0
An in place upgrade is not possible from v3.0 to v4.0. To begin, copy the Extensibility directory from the v3.0 installation directory to another folder. The default directory is C:\Program Files\UNIFY Solutions\Services\Extensibility\
Next, the Identity Broker v3.0 service should be uninstalled. Please follow the steps on Uninstalling the Identity Broker Service. Uninstall all v3.0 plugins for Identity Broker, including Connectors. Follow the Upgrading the UNIFYBroker Service section above. However, select the directory containing the copied configuration from the v3.0 installation on the following screen:

Click the Browse button.
Navigate to the copied v3.0 configuration directory and click OK.
columnMapping element such that the SourceColumn and TargetColumn are pointing to a base connector field and the target field respectively.
Continue with the rest of Upgrading the UNIFYBroker Service guide from the section above.
Customer support service by UserEcho
