Installing the UNIFYBroker Service
Overview
Installation of the UNIFYBroker Service is as easy and simple as running the UNIFYBroker.msi installer package. This installer contains everything required for a basic installation of UNIFYBroker.
Installing the UNIFYBroker Service
Installation from the desktop
To begin installation, locate and run the UNIFYBroker.msi installation package from either Windows Explorer or through command prompt.
The title screen of the installation wizard will be shown.

Click Next to continue.
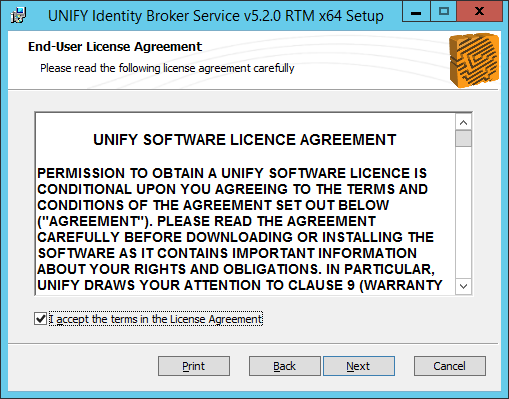
Read and accept the UNIFY Software License Agreement.
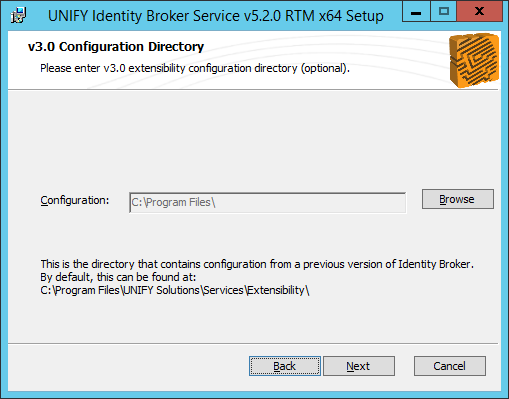
If required, specify an Identity Broker v3.0 configuration directory. Any v3.0 configurations will be moved from this directory into the new installation configuration directory.
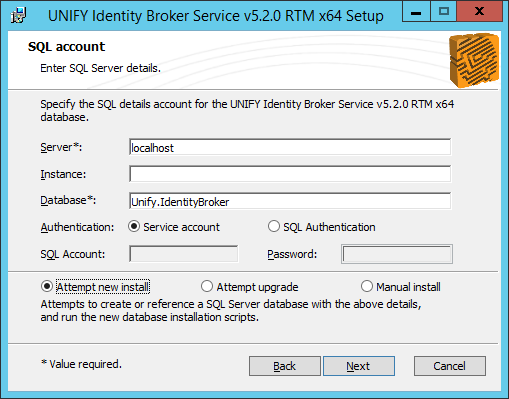
Configure database settings. If you wish for the installer to attempt to create the database, select the Attempt New Install option, and enter the required details - the location and name of the SQL server instance, the name of the database to create or update, and the account details if using SQL authentication. If you wish to create the database by manually running the script, select the Manual Install option.
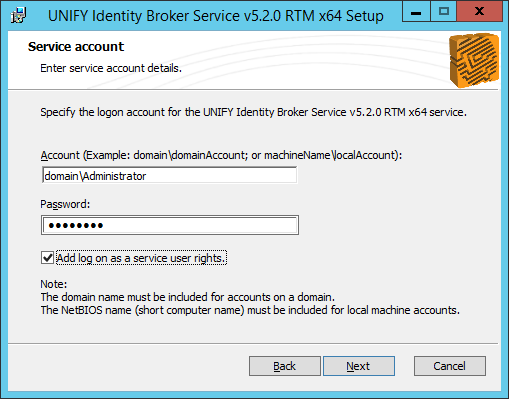
Enter the credentials for the Windows account that the Service will run as.
Select an installation directory for the UNIFYBroker Service. The default installation will be C:\Program Files\UNIFY Solutions\Identity Broker
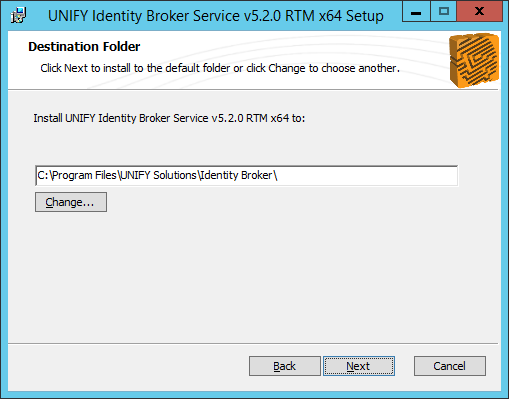
Select an installation directory.
Confirm the values specified for this installation.
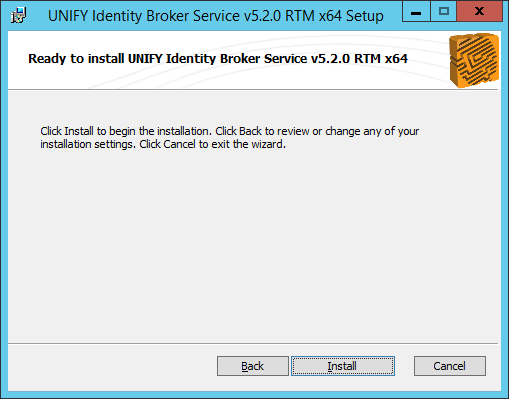
Confirm to begin the installation.
A progress bar will appear showing the progress of the installation.
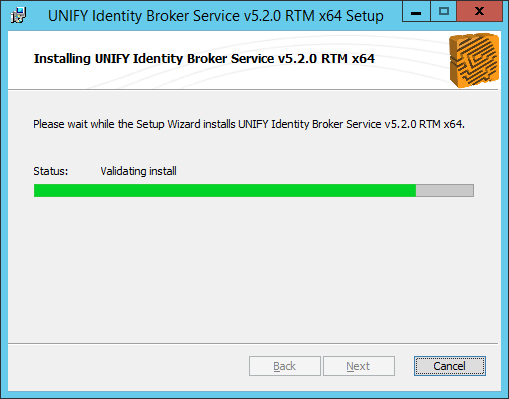
Wait for the installation to complete.
The installation has completed successfully.
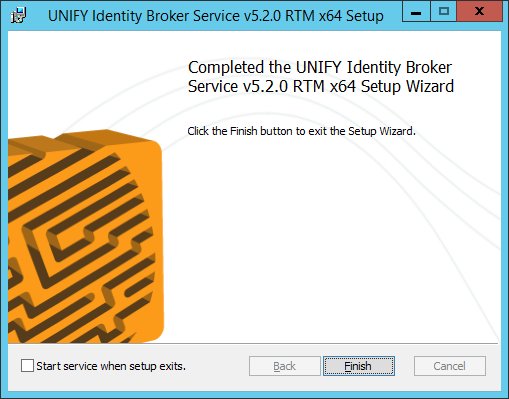
Click Finish to close the installation window.
The UNIFYBroker service has now been installed.
Unattended installation
An unattended installation may be performed by using the msiexec.exe command and supplying the installer package as the parameter:
msiexec.exe /qn /i "%Installer Directory%\UNIFYBroker.msi"
Alternatively, to specify the service account credentials:
msiexec.exe /qn /i "%Installer Directory%\UNIFYBroker.msi" SERVICECREDENTIALS_USERLOGIN="DOMAIN\TestUserName" SERVICECREDENTIALS_PASSWORD="Password"
| Option | Description | Option value |
|---|---|---|
| SERVICECREDENTIALS_USERLOGIN | The Windows username for the service account. Formatted domain\domainAccount or machineName\localAccount. |
|
| SERVICECREDENTIALS_PASSWORD | The password for the Windows service account. |
|
| LOGON_AS_SERVICE | Whether log on as service user rights should be added to the above user account. | not set (false), otherwise true |
| DATABASE_TYPE | Whether the database should be skipped (manual); installed; or upgraded. | MANUAL, INSTALL, UPGRADE |
| SQL_SERVER | The name of the database server. |
|
| SQL_INSTANCE | The instance name of the database server. Leave blank for a default instance. |
|
| SQL_DATABASE | The name of the database, for example Unify.IdentityBroker |
|
| SQL_ACCOUNT_TYPE | Whether the connection from UNIFYBroker to the database is using the service account, or SQL Server authentication. | WINDOWS, SQL |
| SQL_USER | The SQL username if using SQL Server authentication. |
|
| SQL_PASSWORD | The SQL password if using SQL Server authentication. |
|
| START_SERVICE | Whether the UNIFYBroker service should attempt startup following the installation. | not set (false), otherwise true |
Uninstalling the UNIFYBroker Service
Uninstalling through Control Panel
Ensure that the uninstall guide is followed for the correct version of UNIFYBroker, as there may be differences between versions.
The UNIFYBroker service can be uninstalled by finding the component in the Control Panel Programs and selecting the Uninstall option.
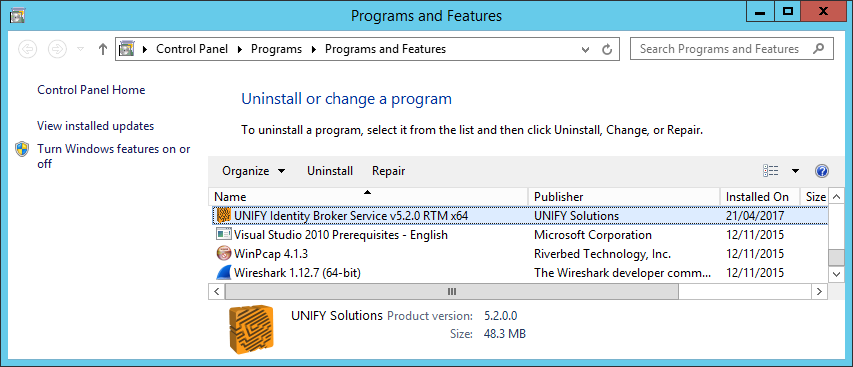
Select the component from the list and click Uninstall.
Starting the Service
To start the service, first open the Services window from Administrative Tools. Alternatively, run services.msc from command prompt.
Open the Services page, and select Yes if prompted to continue.
Find the UNIFYBroker service, and start it.
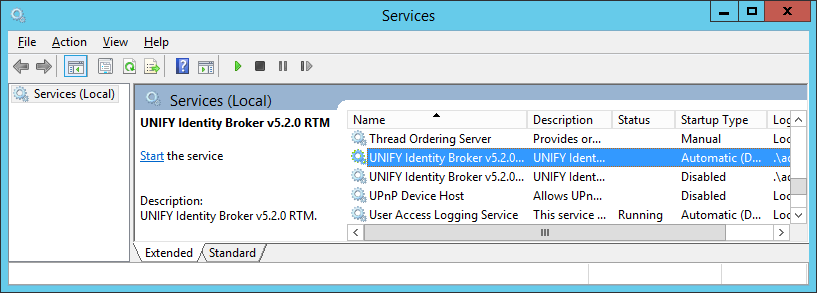
Start the UNIFYBroker service.
Verifying Installation
Once UNIFYBroker has been installed successfully, the web components can be configured. By default, UNIFYBroker is configured to run the self-hosted option, bound to localhost on port 8008. Note that this will need to be changed if using UNIFYBroker on a machine where port 8008 is already in use. UNIFYBroker may also be configured to be hosted by IIS.
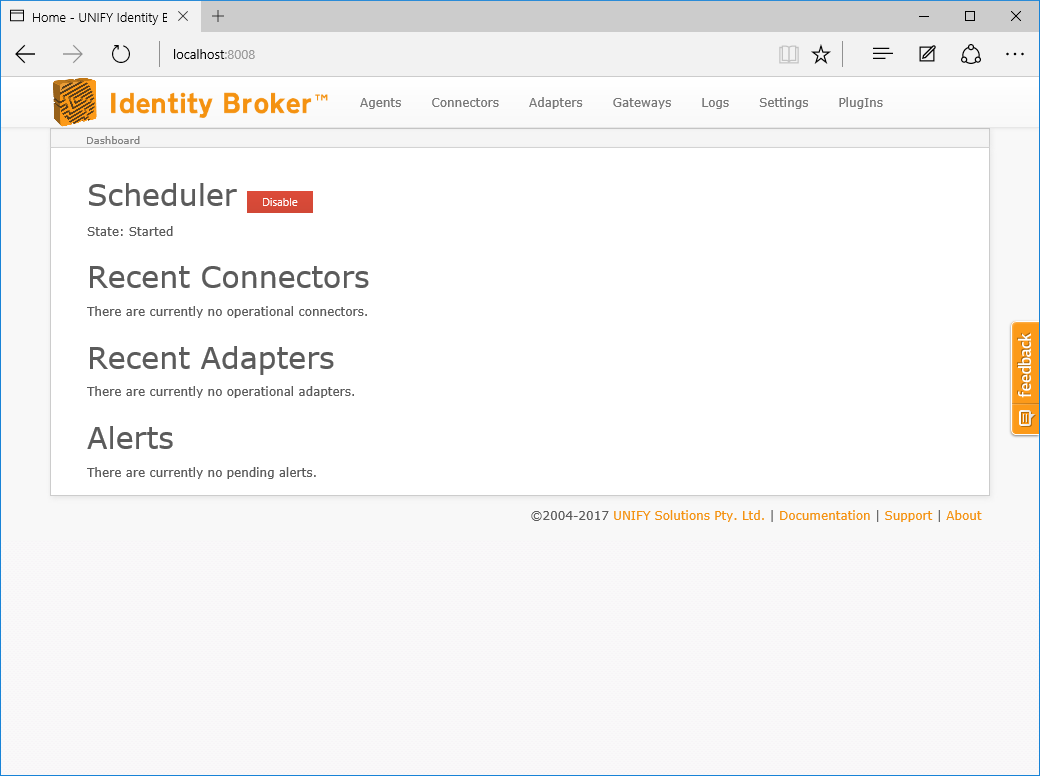
To verify the installation, open an internet browser of choice, and navigate to the the UNIFYBroker Management studio as configured (which will default to http://localhost:8008), and confirm that the UNIFYBroker service has been correctly installed and started.
Open Management Studio with an internet browser of choice.
The following should be seen:
If the above steps did not work:
- Review the installation steps again;
- Refer to the service configuration;
- Determine whether the appropriate choice was made between the self-hosted option or the IIS option; and
- Check the Identity Broker forum for information on any known or common issues.
Identifying the UNIFYBroker version
The UNIFYBroker version can be confirmed by navigating to the About link and looking at the version numbers there within:

Customer support service by UserEcho

It seems the account that you run the installer needs permission to create the database. The installer does not use the service account to do this, even when you select the Service Account in the Authentication screen when attempting a new install of the database.