Installing UNIFYBroker/Plus
Overview
Installation of UNIFYBroker/Plus is as easy and simple as running the UNIFYBroker Plus.msi installer package. This installer contains everything required for an installation of UNIFYBroker/Plus with the exception of UNIFYBroker itself, which must be installed separately.
Installing UNIFYBroker/Plus
Installation from the desktop
To begin installation, locate and run the UNIFYBroker Plus.msi installation package from either Windows Explorer or through command prompt.
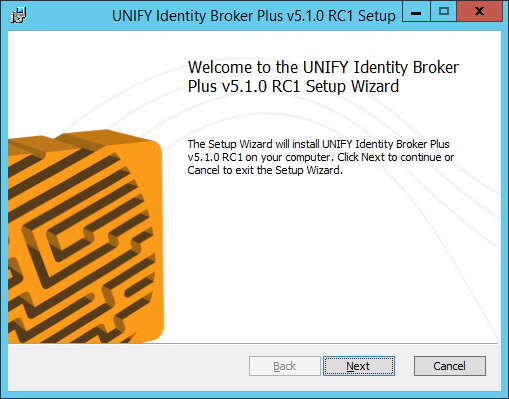
The title screen of the installation wizard will be shown.
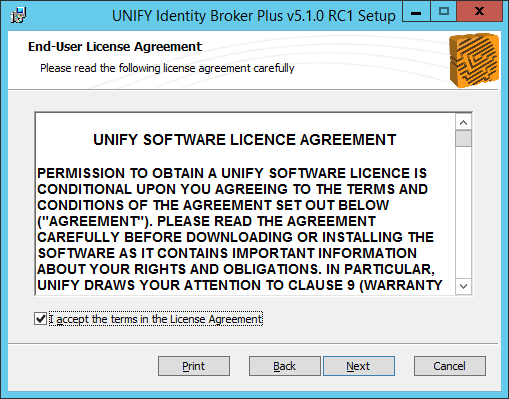
Read and accept the UNIFY Software License Agreement.
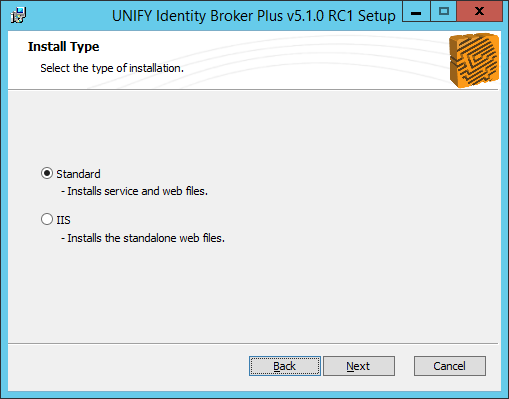
Select either a Standard installation for both service and web files, or IIS installation for web files only.
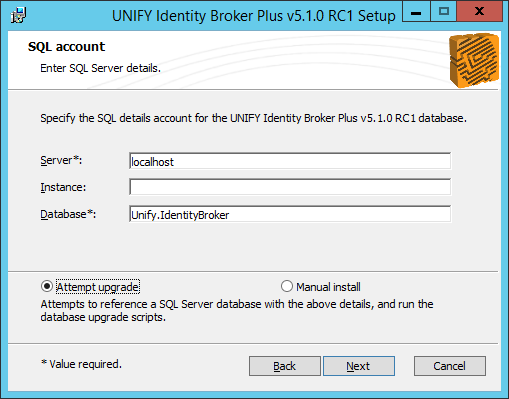
Configure database settings. If you wish for the installer to attempt to add UNIFYBroker/Plus database components to an existing Identity Broker database, select the Attempt upgrade option and enter the required details - the location and name of the SQL server instance and the name of the database to update. If you wish to update the database manually, select the Manual Install option and see Manually Upgrading the UNIFYBroker/Plus Database.
Select the installation location of UNIFYBroker. The default installation directory is:
C:\Program Files\UNIFY Solutions\Identity Broker\
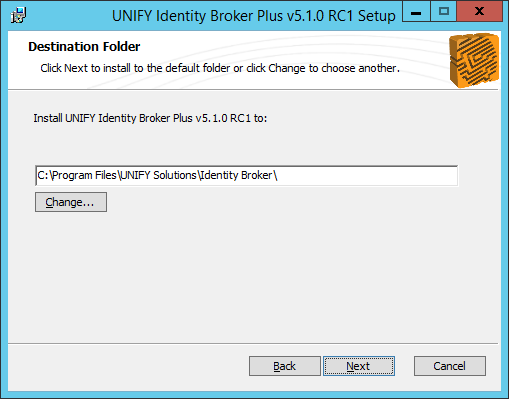
Begin the installation when ready.
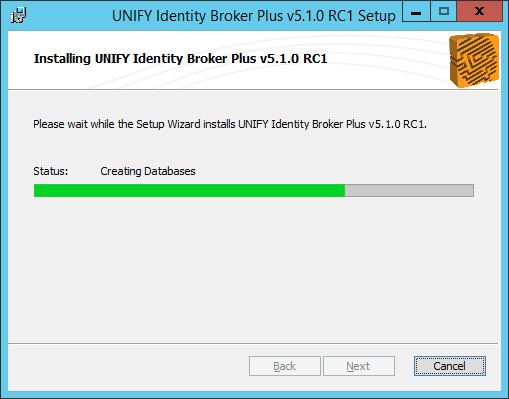
A progress bar will appear showing the progress of the installation. Wait until the installation process is complete.
The installation has completed successfully. Click finish to close the installation window.
UNIFYBroker/Plus has now been installed. Restart the UNIFYBroker service now.
Unattended Installation
An unattended installation may be performed by using the msiexec.exe command and supplying the installer package as the parameter:
msiexec.exe /qn /i "%Installer Directory%\UNIFYBroker Plus.msi" ADDLOCAL=Service,Web
Alternatively, to perform a database upgrade during installation:
msiexec.exe /qn /i "%Installer Directory%\UNIFYBroker Plus.msi" DATABASE_TYPE="UPGRADE" SQL_SERVER="localhost" SQL_DATABASE="Unify.IdentityBroker" ADDLOCAL=Service,Web
|
Option |
Description |
Option value |
|---|---|---|
| ADDLOCAL | The comma-separated list of installation types to install. | Service,Web,IIS_Web |
| DATABASE_TYPE | Whether the database should be skipped (manual); installed; or upgraded. | MANUAL, UPGRADE |
| SQL_SERVER | The name of the SQL server hosting the Identity Broker database. | |
| SQL_INSTANCE | The instance name of of the database server. Leave blank for a default instance. |
|
| SQL_DATABASE | The name of the database, for example Unify.IdentityBroker | |
Uninstalling UNIFYBroker/Plus
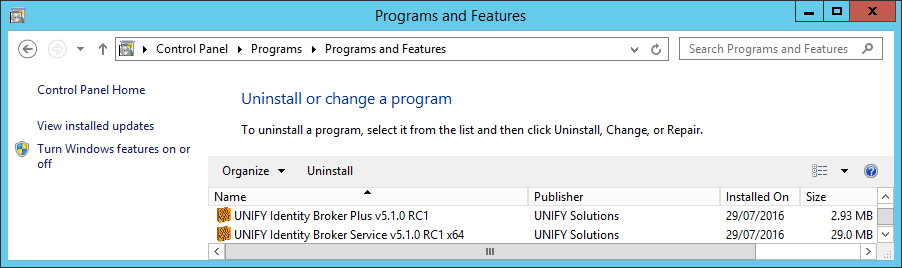
UNIFYBroker/Plus can be uninstalled by finding the component in Programs and Features and selecting the Uninstall option.
Verifying Installation
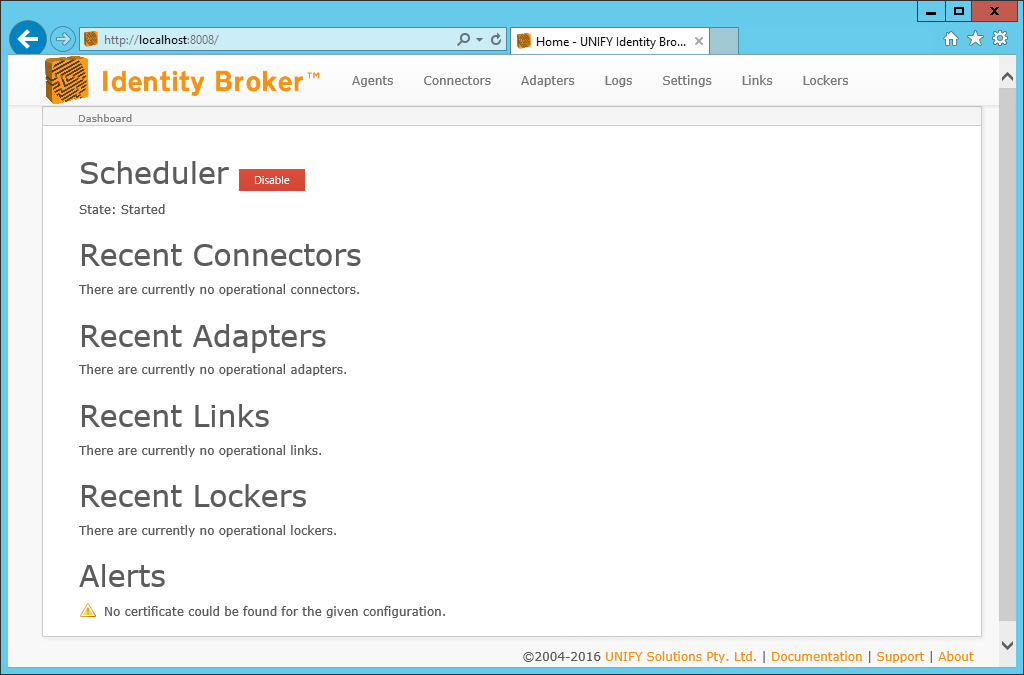
Once UNIFYBroker/Plus has been installed successfully and the UNIFYBroker service has been restarted, the installation can be verified by logging onto the UNIFYBroker web interface. If correctly installed, Link and Locker menu items will be present in the top navigation menu, as well as new categories on the home page for Recent Links and Recent Lockers.
If the above steps did not work:
- Review the installation steps again
- Check the Identity Broker forums
Identifying the UNIFYBroker/Plus version
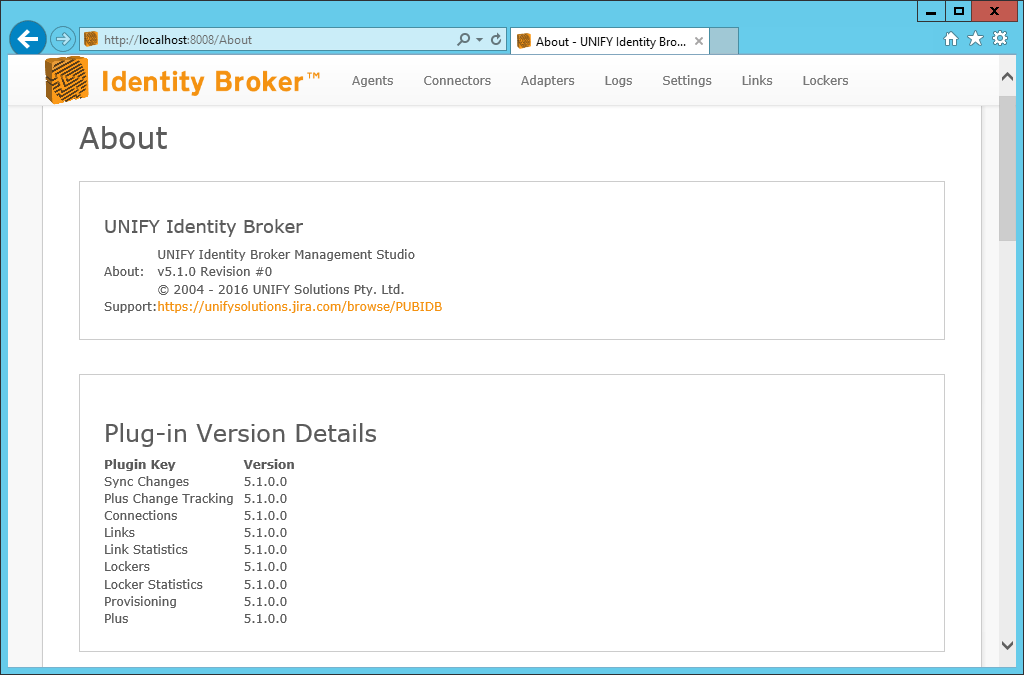
The UNIFYBroker/Plus version can be confirmed by navigating to the About tab and looking at the version numbers there within:
Customer support service by UserEcho
